Managing Comments
This section will serve as your Blog comments manager. You can approve or delete newly received comments before they appear under the blog post.
This area can be found in the "Visitor Comments" under "POSTS" located in the left toolbar. This interface provides a simple, yet effective means of managing your comments as well as showing you who posted the comment, the blog post the comment was left on, the status, and the date posted.
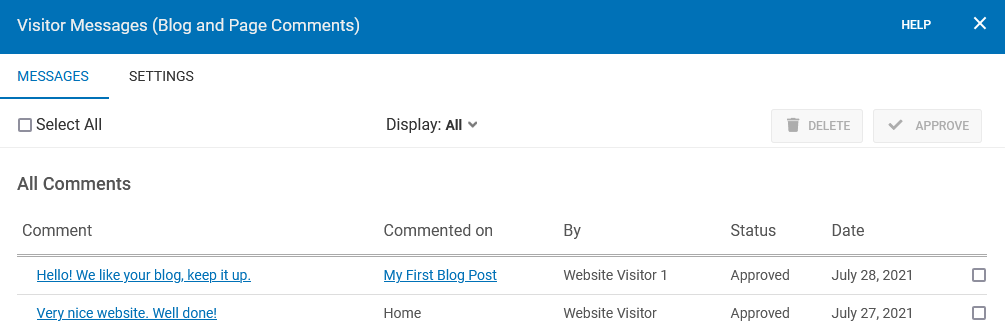
Clicking on the comment title link under the Comment heading will allow you to manage that specific comment. This can be helpful if you made a mistake approving a comment, or if you wish to remove a comment that was automatically approved. The e-mail address the poster provided can also be found here. Unfortunately, deleted comments cannot be restored.
Clicking on the post title link under the “Commented on” heading will take you directly to the blog post on which the comment was made.
If you have configured your comments to require approval before being displayed, you will see that all comments in this area are awaiting your decision. Simply click the checkboxes in the far-right column and click any of the "Approve" or "Delete" buttons above to take the appropriate action.
Managing Comment Settings
You can manage your comment settings under the Settings tab of the “Visitor Comments” section. These settings will affect all comments that have been added to your website. These settings are for both your Blog and Comment elements.
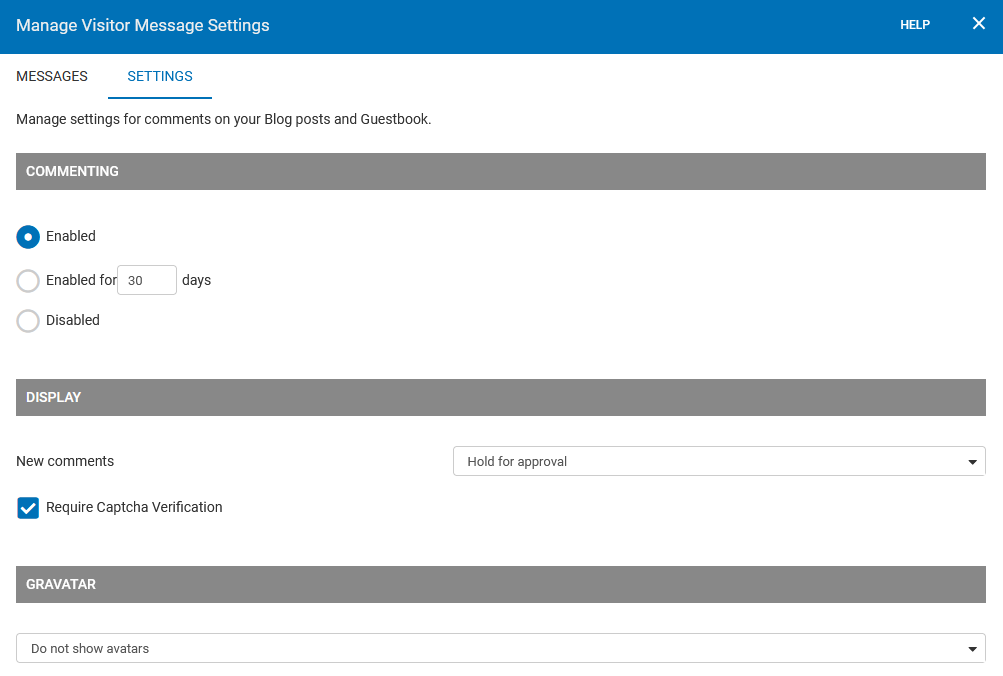
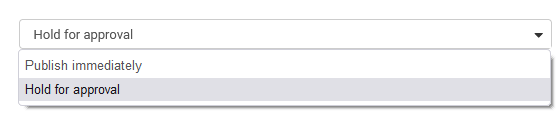
You can choose how all new comments will be handled automatically by choosing either "Publish Immediately" or "Hold for Approval" here.
You can optionally Require Captcha verification for your comments. This will help to add extra spam prevention (on top of our current spam prevention measures) by requiring that all comment posters enter a unique set of characters that will help to verify that they are not spamming bots. This is a small box that appears on any comment page associated with a blog post. Comments are enabled by default, but you can optionally configure them to appear only for a number of days of your choice before being deleted automatically or disabling them altogether.
A Gravitar or globally recognized avatar is quite simply an avatar image that follows you from blog to blog appearing beside your name when you comment on gravatar-enabled sites. This setting will allow you to enable these or specify that you do not want them to display.
Deleting Comments
To delete a specific comment under a blog post, click the “Comments” section to view your comments. From here, you can delete any unwanted comments by clicking the trash icon.
You can also delete multiple comments from the “Visitor’s Comments” section. Simply click the checkboxes in the far-right column and click the “Delete” button to delete these comments.
Managing Comment Spam
A great way to prevent spam in your comment section is to Require Captcha verification for your comments. This option will provide a method to verify that your comment is not a spamming bot. To enable this for your comments on existing blog posts, ensure the “Require Captcha Verification” checkbox is selected in the “Visitor Comments” Settings tab.

Setting Comment Approval
If you want to approve comments before others can see them, you can turn this on by selecting the “Hold for approval” option from the drop-down menu. Selecting the “Publish immediately” option allows anyone to comment without your approval.