
Video Tutorials
Please see our videos for a detailed walkthrough on how to add, style, and edit Blocks, Columns, and Elements on your new SiteBlocks website!
Part 1: How to Add Blocks, Columns, and Elements
Part 1: How to Add Blocks, Columns, and Elements
Part 2: Style & Edit Blocks, Columns, and Elements
Overview
See the pictures below to understand where each structure is located:
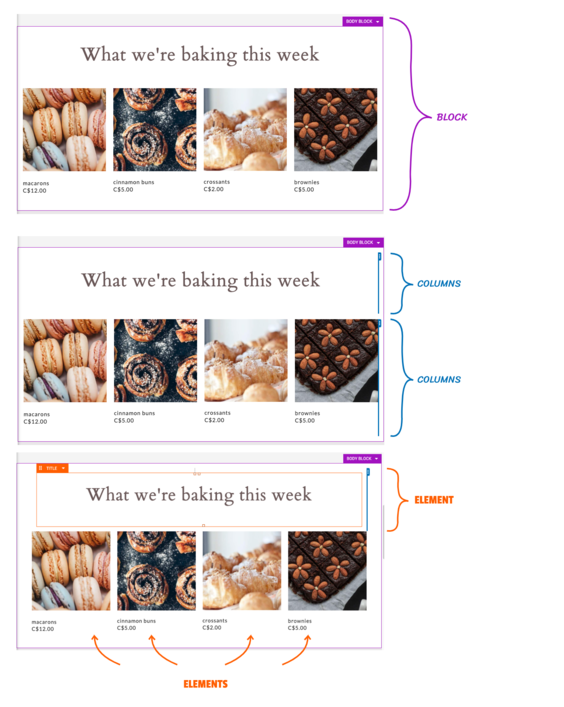
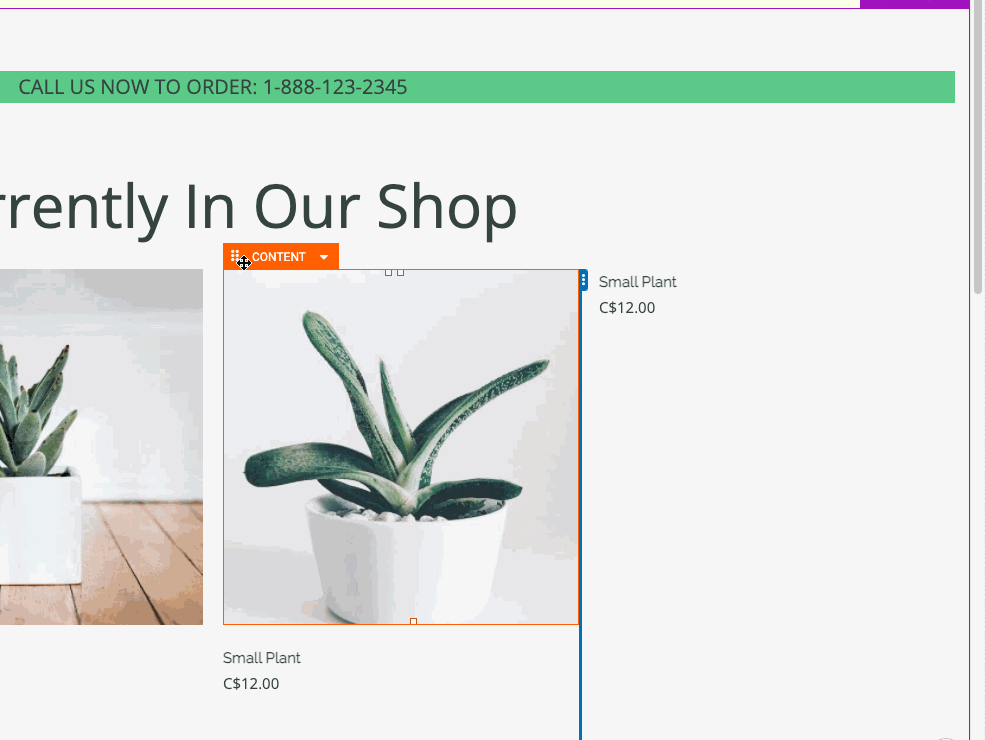
Blocks
Blocks are the main containers that hold your website content and offer a convenient way to group your website content into different sections. Body blocks are the main blocks that make up the body of your page and are indicated by the purple outline when editing your website.
Note that all elements and columns on your page will always be inside of a block. If you add a single element to an empty page, this will automatically create a block to hold the element.
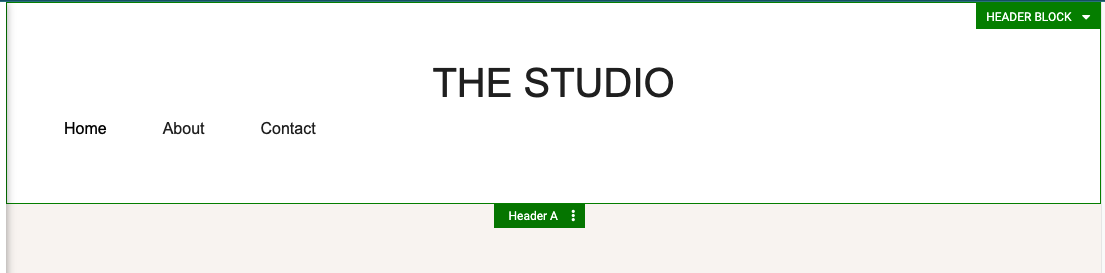
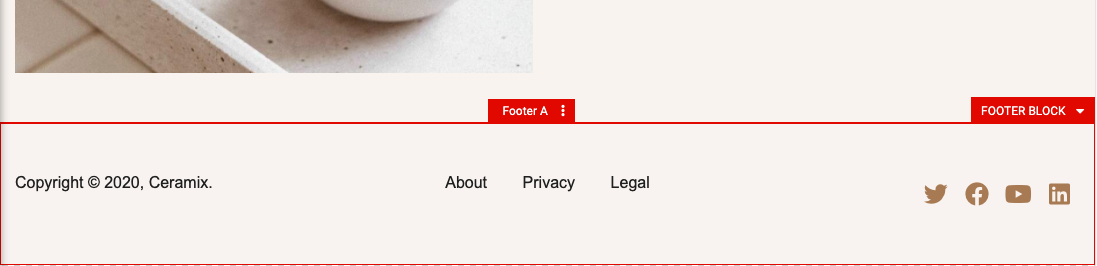
There are also special blocks meant for the header and footer of your pages.
Header blocks are located at the very top of your page and can be used to create a header for your website. These can be identified by the green outline surrounding the block while editing your site.
Footer blocks are located at the bottom-most part of your page and can be used to create a footer for your website. This is a great place to put additional information about your company, organization, or contact information. These can be identified by the green outline surrounding the block while editing your site.
You can create multiple different styles of headers and footers for different locations on your website, or for different events/time of the year. For complete information on how to use Header and Footer blocks, please see our articles on Header Blocks and Footer Blocks.
Creating New Blocks
Create a new block by adding an element, column, or premade block (located in the Blocks menu) onto a purple ribbon that appears when dragging an item onto your page.
If you add a single element to an empty page, this will automatically create a block to hold the element. To do so, navigate to the Elements menu and drag and drop a new element onto a purple 'New Block' ribbon.
You can also drag empty columns into a new block section to create a new block.
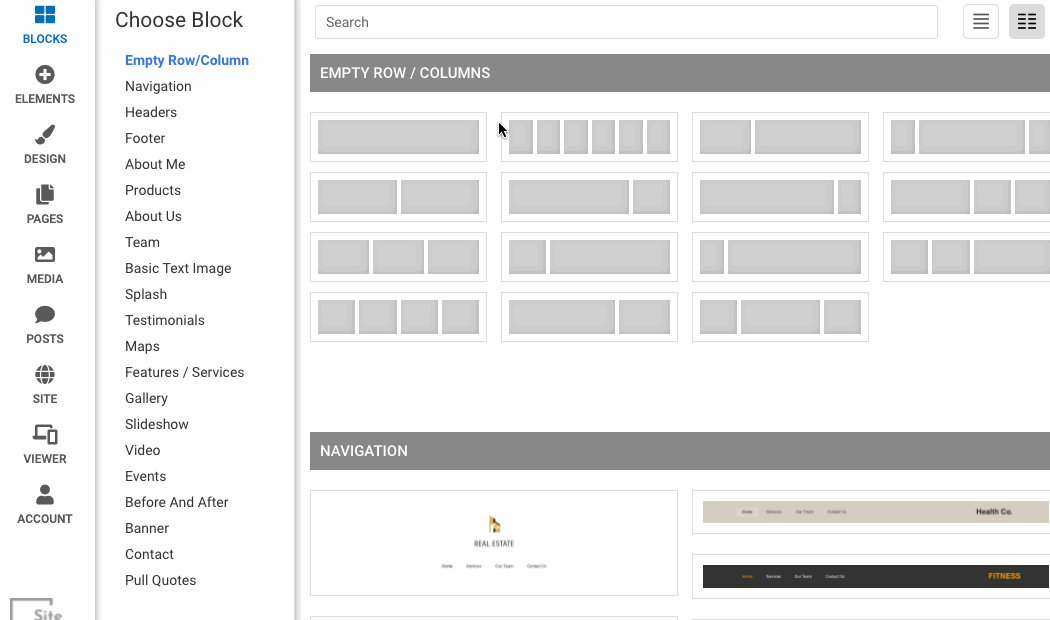
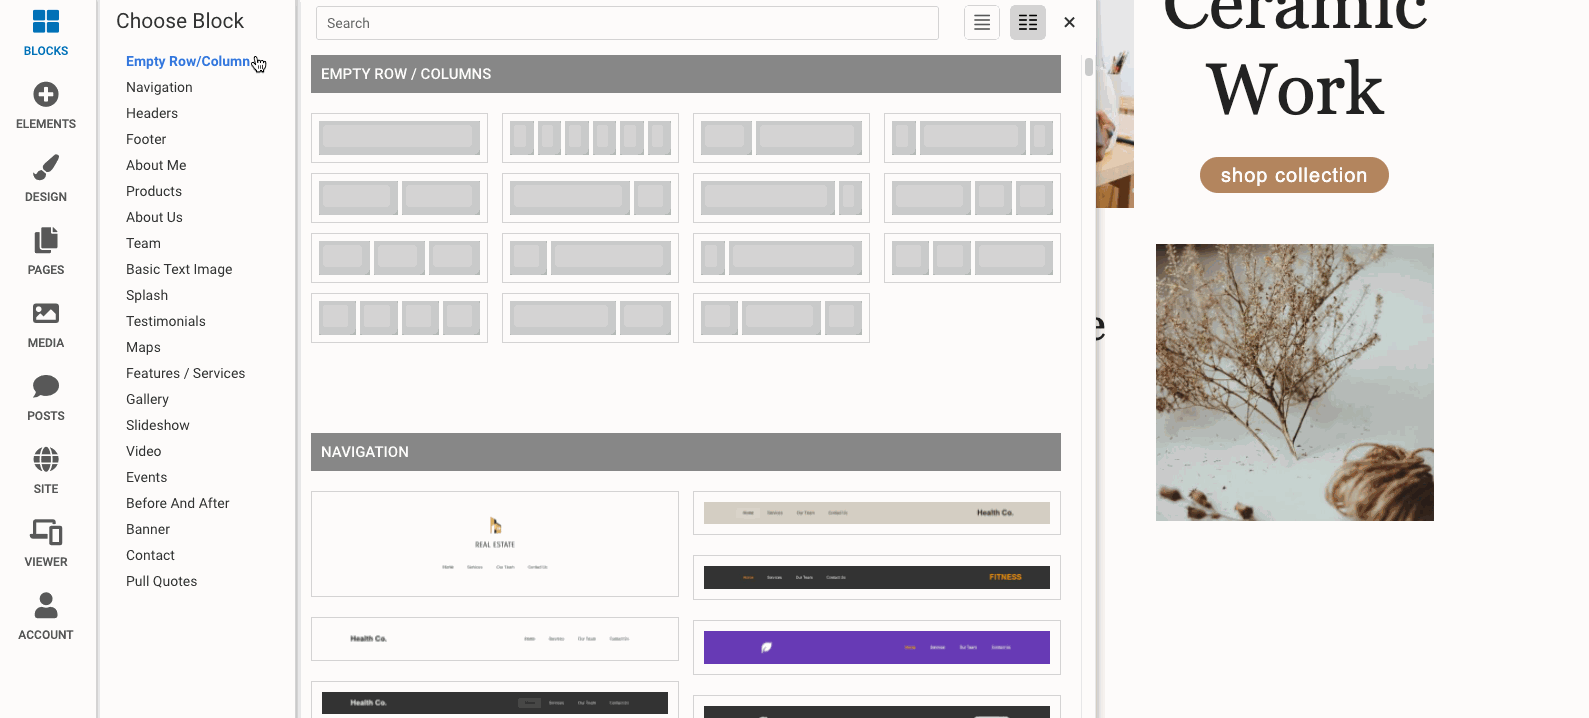
We also have a large variety of pre-made blocks you can add to your page. You can find these from the 'Blocks' menu.
Blocks Menu
Access the blocks menu to style, move, or copy content.
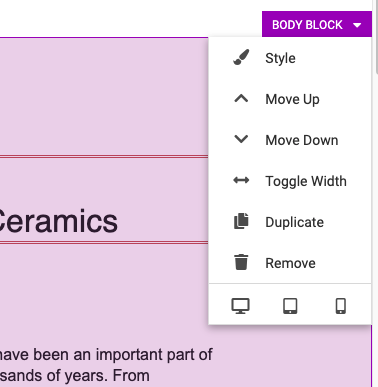
Styling A Block
To style an already existing block on your website, hover over the block with your cursor until you see a purple "Body Block" border dropdown appear.
Click on the purple "Body Block" dropdown, and a menu will appear. You will see a Style option, which will bring up a style editor. There are many options to choose from, including background, padding, and font styling options.
Duplicating A Block
To duplicate an already existing block on your website, hover over the block with your cursor until you see a purple "Body Block" border dropdown appear.
Click on the purple "Body Block" dropdown, and a menu will appear. You will see a duplicate option, which will bring up a "Duplicate Container" window asking where you'd like to move the block. You may add the duplicate block to your current page, or another page on your website. You will then be taken to the duplicated block, where you may move it up or down the page.
Editing A Block
To edit an already existing block on your website, hover over the block with your cursor until you see a purple "block" border dropdown appear.
Click on the purple "block" dropdown, and a menu will appear. You will see a style option, which it will bring up a "Block Styles" window. From here you can change the background color of the block, the font color, add an image, or change the padding and borders.
Moving A Block
To move an already existing block on your website, hover over the block with your cursor until you see a purple "block" border dropdown appear.
Click on the "block" dropdown, and a menu will appear. You will see a "move up" and "move down" option. Selecting these options will move the block up or down the block next to it.
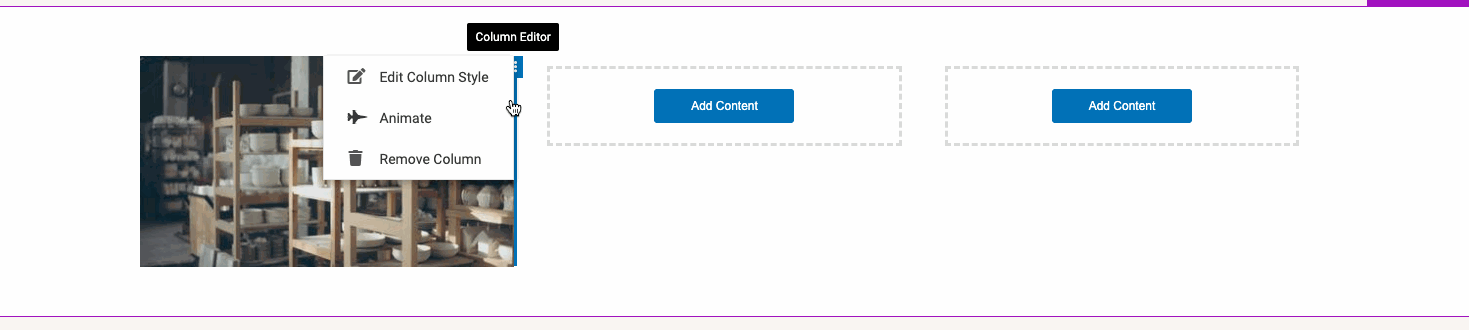
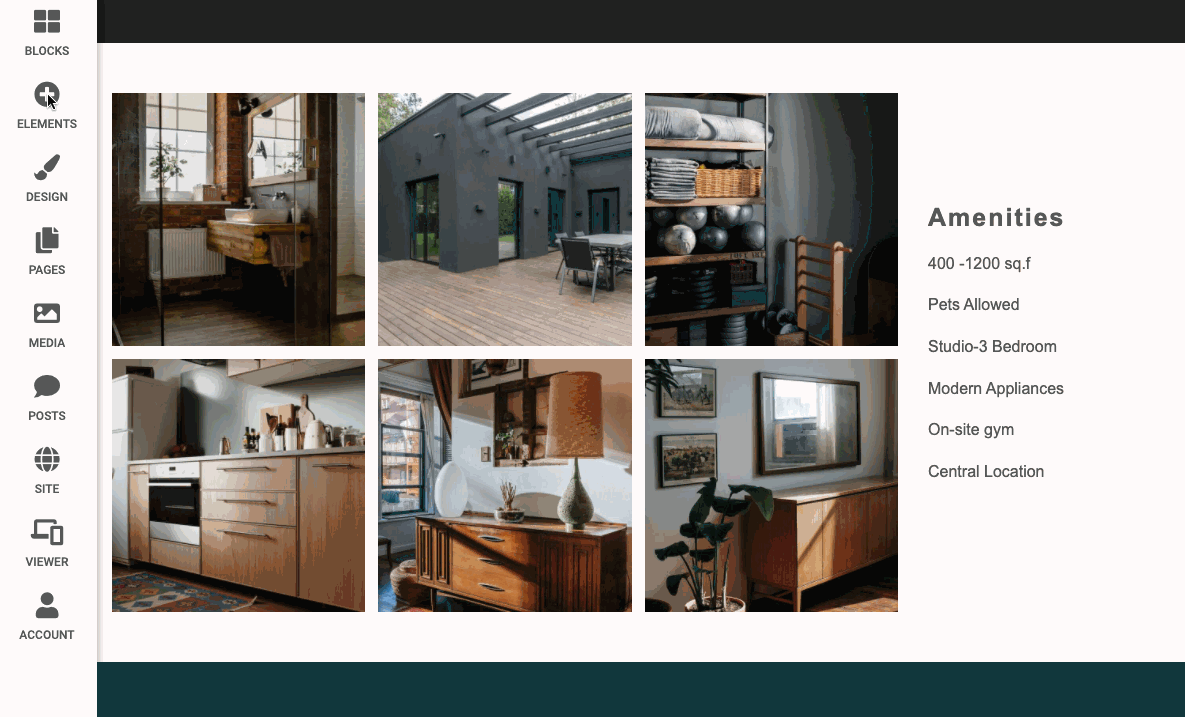
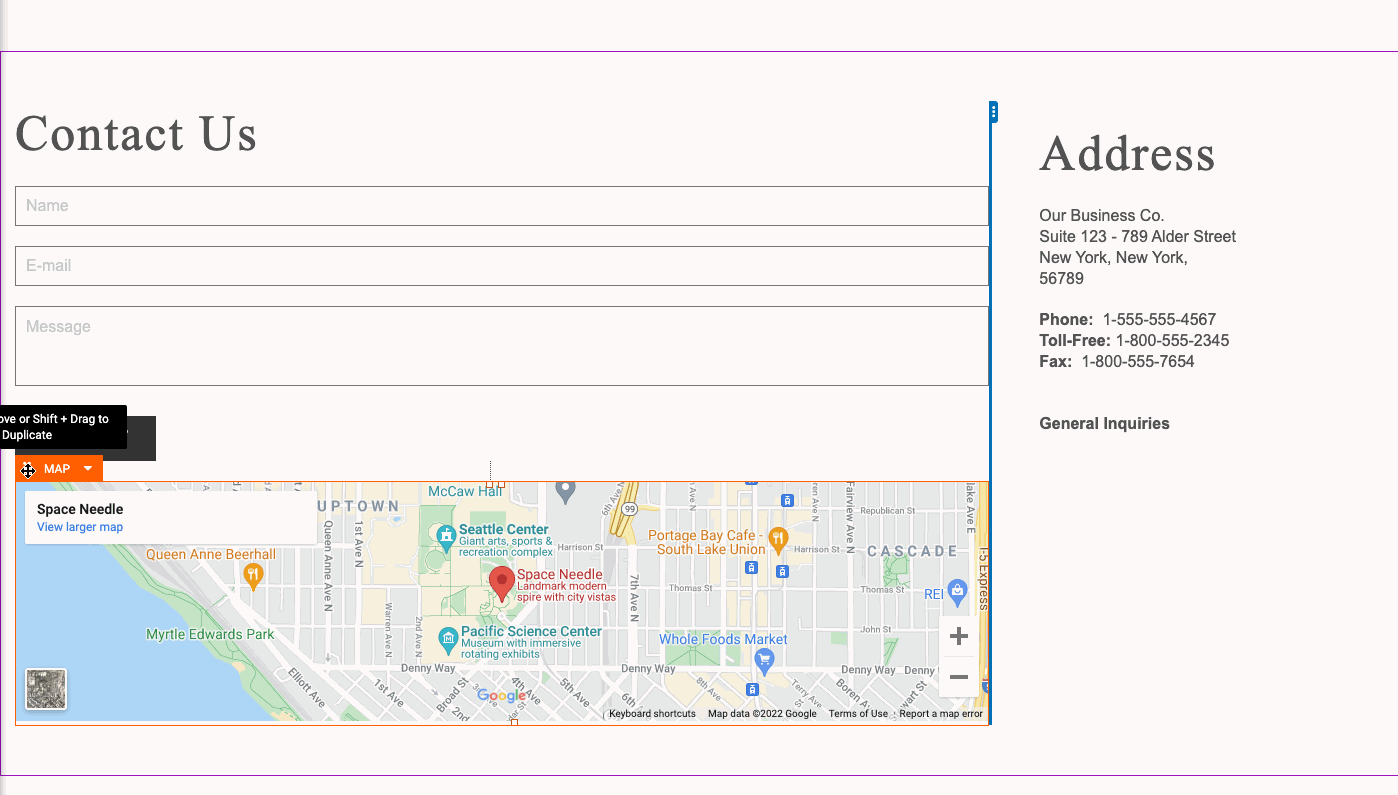
Columns & Rows
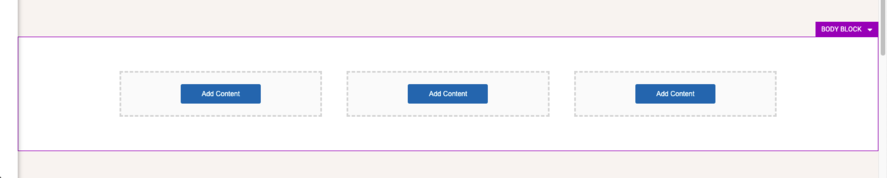
Inside the blocks are rows of columns. You can find columns by looking for the blue menu on the right-hand side of your content. Columns act as the content container that will hold your elements. You can have 1 single column across one row of your page, or have up to 6 columns in a row. Having multiple columns in 1 row is a great way to space your content across your page.
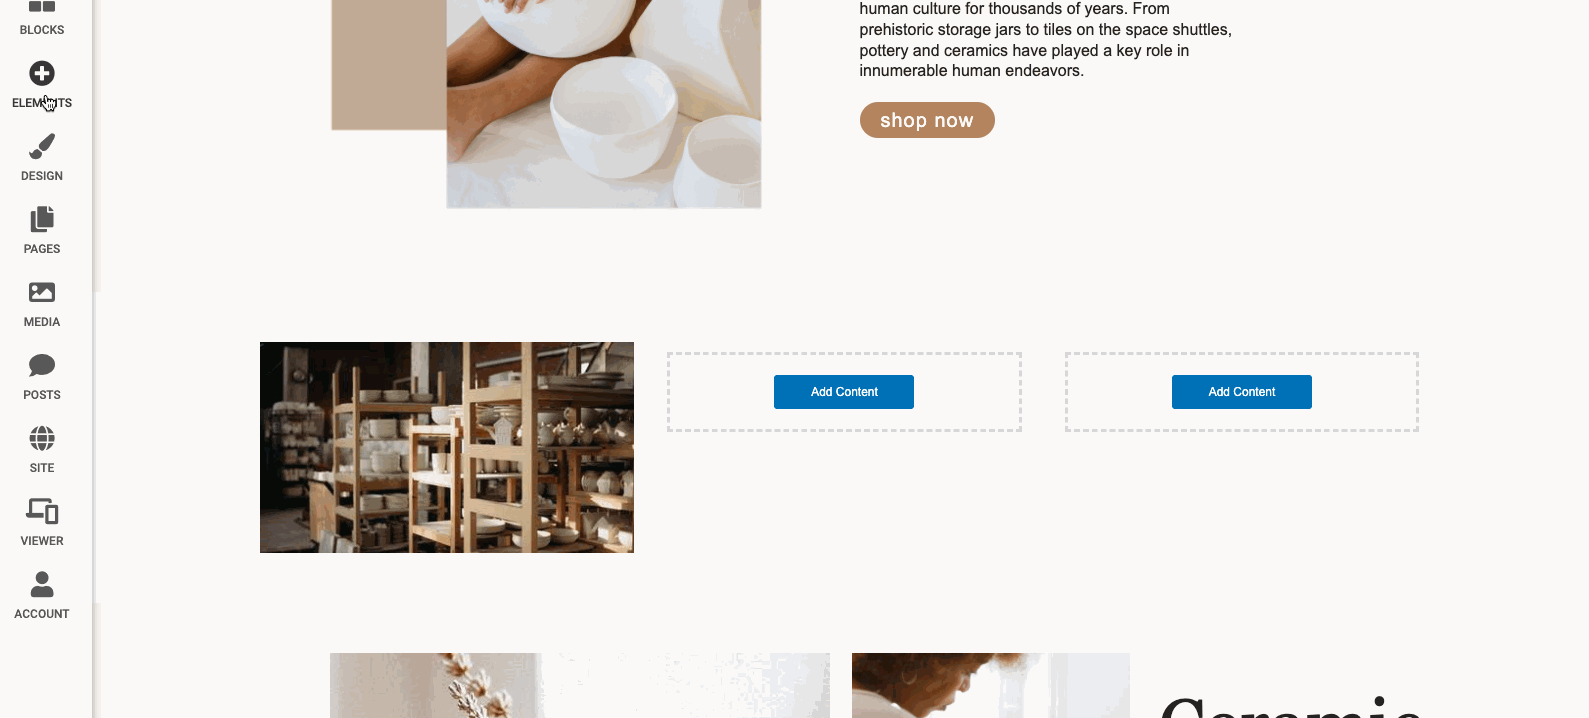
An empty column will appear as an empty content container. Click 'Add Content' or simply drag existing elements into the box from other locations on the page or new elements from the Elements Menu.
If the column already has content inside of it, you can see the column and access the Column Menu from the blue bar that appears on the right-hand side of your element.
You can stack multiple elements inside one column. Simply drag the elements onto any of the available orange ribbons within that container.
Creating New Columns & Rows
Create a new column by adding an element, or an empty column/row (located in the Blocks menu) onto a blue ribbon that appears when dragging an item onto your page.To add empty Rows / Columns, navigate to the 'BLOCKS' menu:
Add an Element to a blue ribbon to create a new row for the Element:
Removing Columns & Rows
To remove a column, simply navigate to the blue column menu and select 'Remove Column'. Please note, this will remove all elements inside of the content which is not reversible.
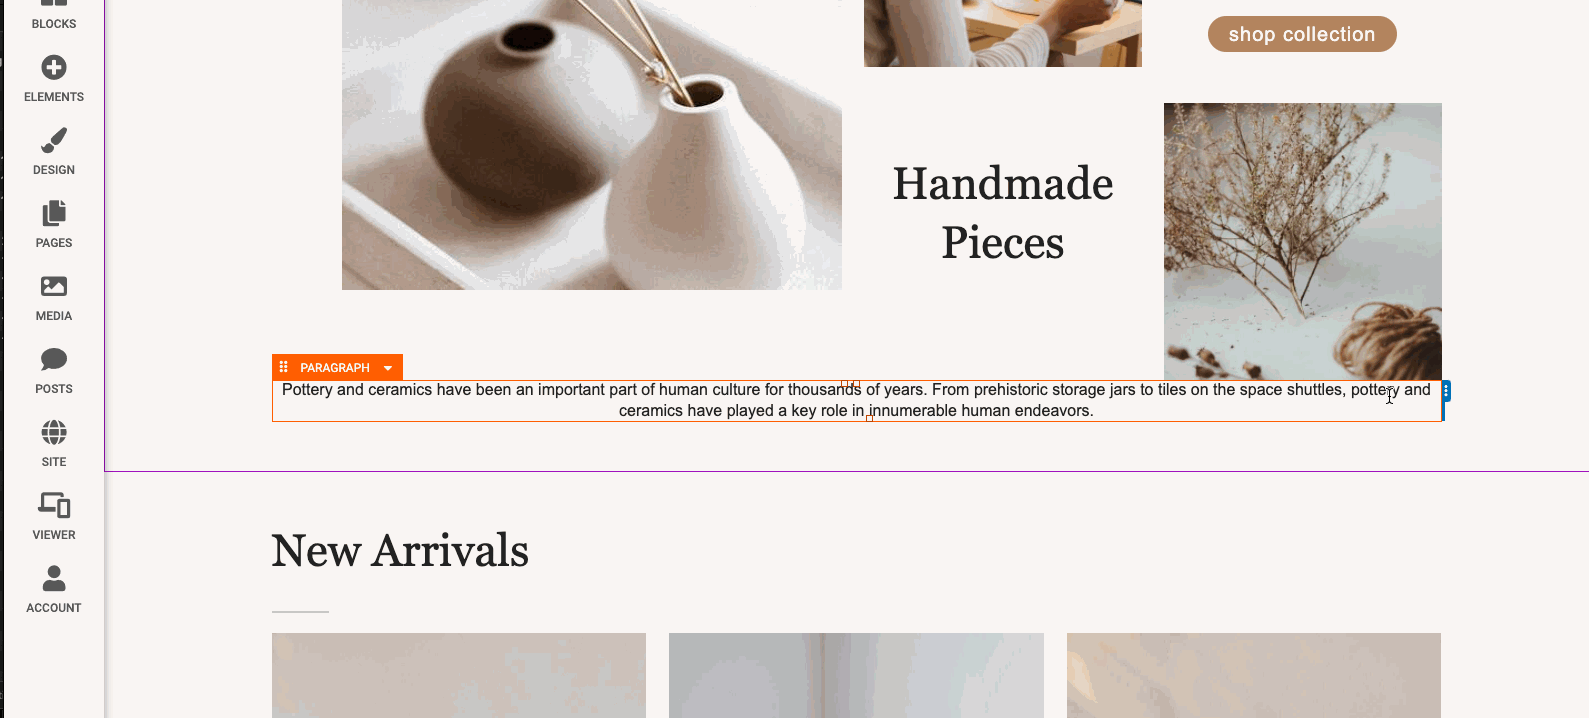
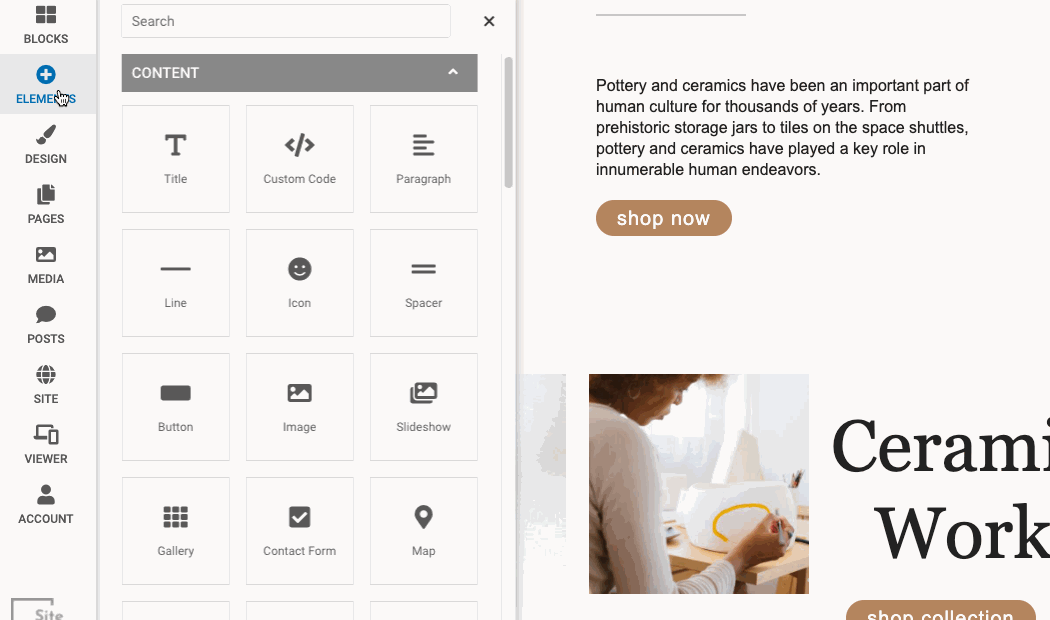
Elements
Elements make up the content on your page. You can identify them by the orange border surrounding them when in the editor. Select from our wide range of media, e-commerce, blogging, and social media elements to create a beautiful modern website in Site Blocks.
Adding An Element
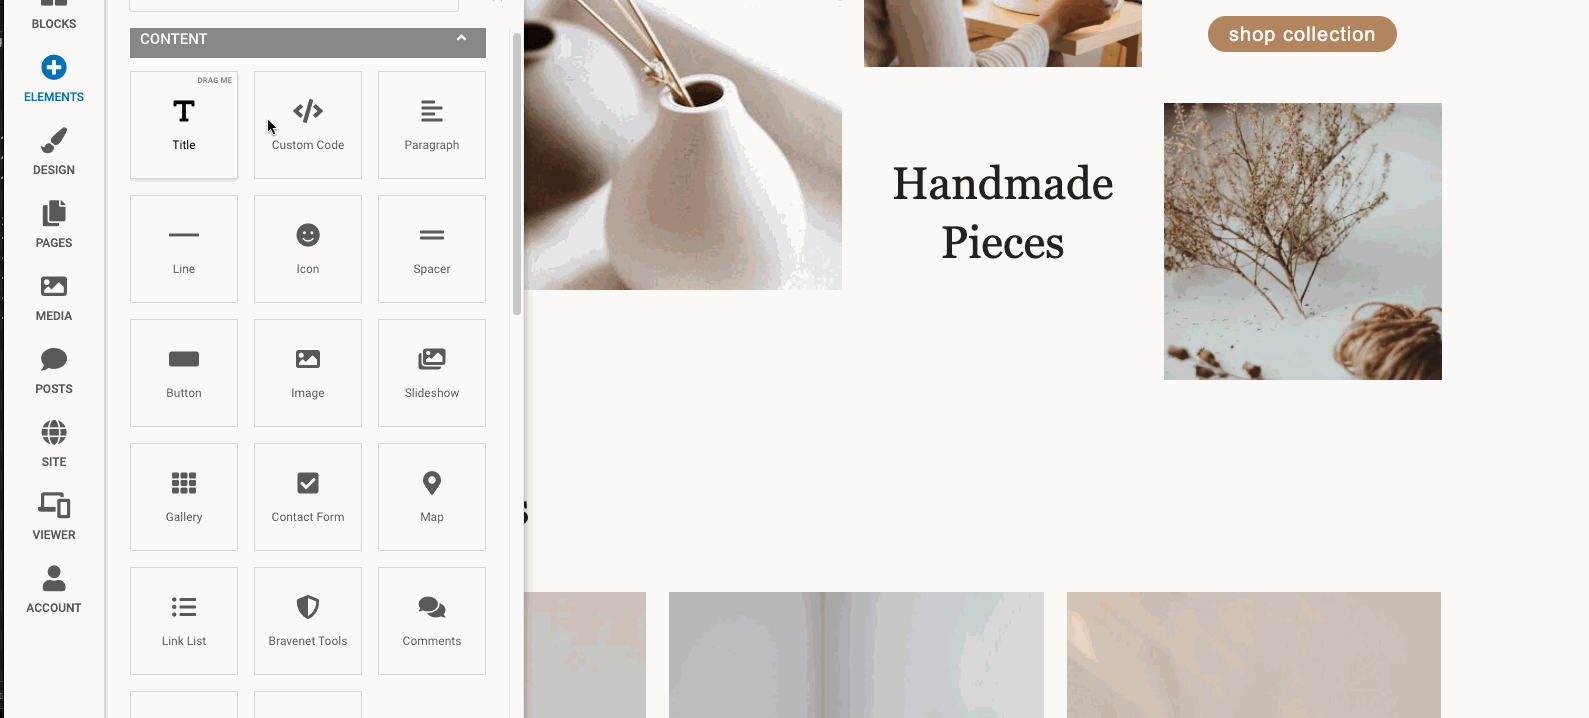
If you want to add an Element to your website by creating your own personalized block, look to the side menu and select "Elements" this will open up a panel with all the elements that you may use for your website.
Scroll down the list to find the element you want to use or search from the search bar at the top of the list if you already know what you are looking for.
Grab and drag with your cursor which element you'd like on your website until you see orange and blue lines appear on your website block. The element will load where you released it.
Moving An Element
Drag the element to the desired location and note the orange color of the content location area to be sure you're adding it to the currently edited page.
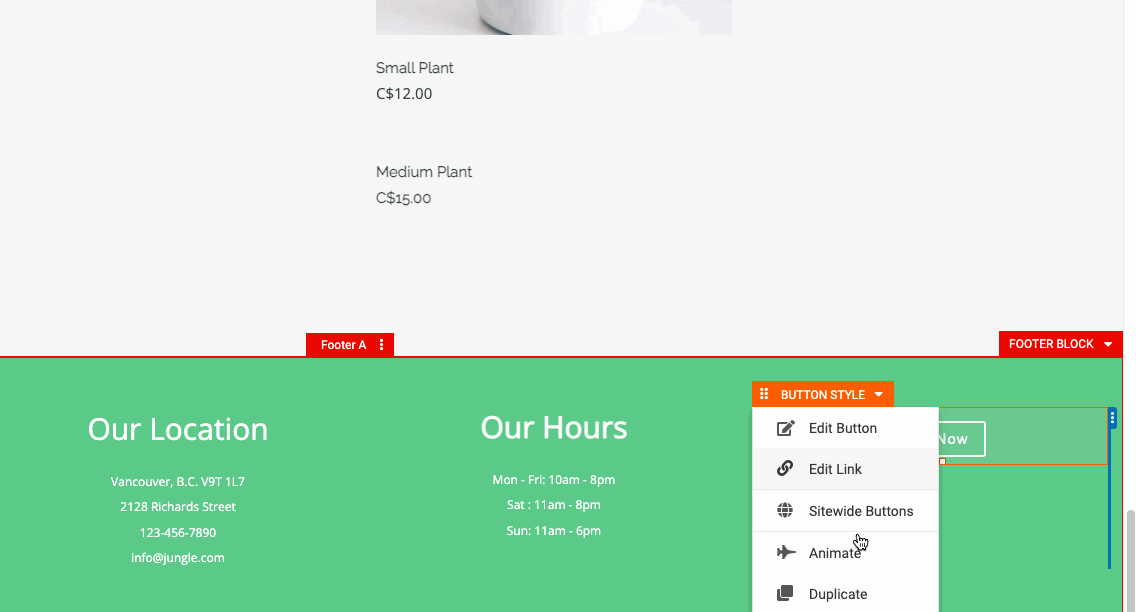
Duplicating An Element
Option 1: Hover over the element until the orange dropdown appears. The element menu will pop open, where you will see a "duplicate" option. A window will open allowing you to choose which page you'd like your element to go to.
Option 2: Quickly duplicate an element by hovering over the element until an orange dropdown appears. Hold down Shift and click and drag with your cursor until you see orange and blue guides appear. Let go of the element, then let go of the Shift key.
Option 2: Quickly duplicate an element by hovering over the element until an orange dropdown appears. Hold down Shift and click and drag with your cursor until you see orange and blue guides appear. Let go of the element, then let go of the Shift key.
Editing An Element
Hover over the element until the orange dropdown appears. The element menu will pop open, where there will be multiple editing options. Depending on the element you are editing, you will be able to add animations, add a link, edit the style, and much more.
For instructions on how to edit a specific element, please select it from our Elements help page.